How to Turn a Photo into a Postage Stamp on iPhone
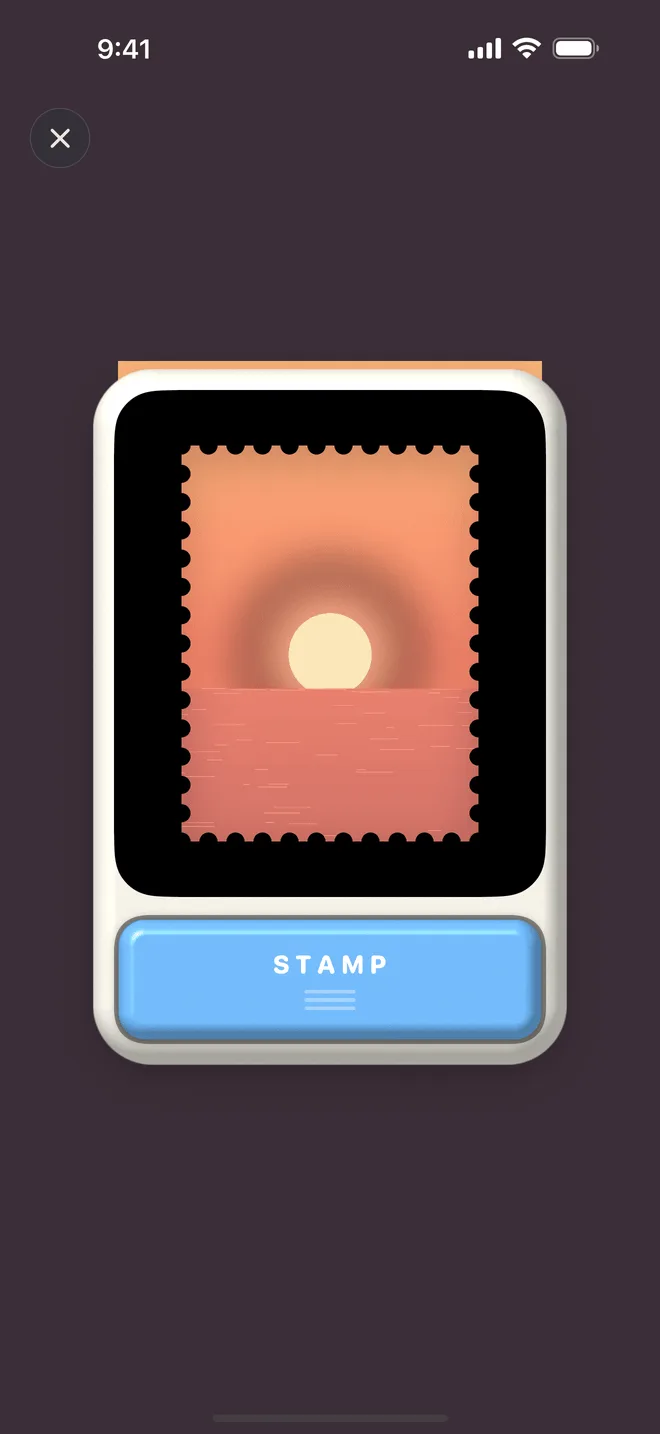
A postage stamp is a small frame with strict rules: a rectangle, a toothed edge, a smudge of ink across one corner. Put a photograph inside those rules and it stops being a snapshot. It becomes an object — something you keep in a book.
That is the whole idea behind InStamp, an iPhone app that works like a craft punch for photos. This guide walks the path once, from the picture you start with to the finished stamp filed in a collection.
Step one: snap a photo, or pick one you have
There are two doors into a stamp.
The first is the craft punch itself — the machine on the home screen, with a viewfinder in the middle. It opens in two stages, so you can keep things simple or work hands-on, and it comes in four paint schemes. Shooting inside InStamp means the moment is fresh: the date is the moment you pressed the button, and if you have allowed location, the place name is already waiting for the postmark.
The second door is your photo library. Any picture from any day gets cut the same way, and the date comes from when the photo was taken, not from today, so an old picture stays honest about its age.
And before you worry about getting it right: every stamp keeps its original photo, so you can reopen one weeks later and cut it again from scratch.
Step two: cut it in the punch window
Whatever sits inside the window becomes the stamp; everything outside falls away, and the button underneath commits the cut. A stamp is much smaller than a photo and is read at a glance, so composition rules that are optional in photography become close to mandatory:
- One subject, near the middle. A stamp has no room for a second idea. Find the one thing the picture is about — a face, a doorway, a mountain — and put it where the eye lands first.
- Leave a corner free. The postmark comes later and wants somewhere to sit. Decide which corner you would be happy to lose: sky, water, a stretch of wall or road are all good places for ink.
- Give the edges room. The perforation eats into the outside of the frame and a margin pushes the picture inward, so anything crowded against the edge can end up bitten.
- Simple beats detailed. A busy street becomes visual noise at stamp size; the same street reduced to one lit window does not.
Step three: choose the perforation
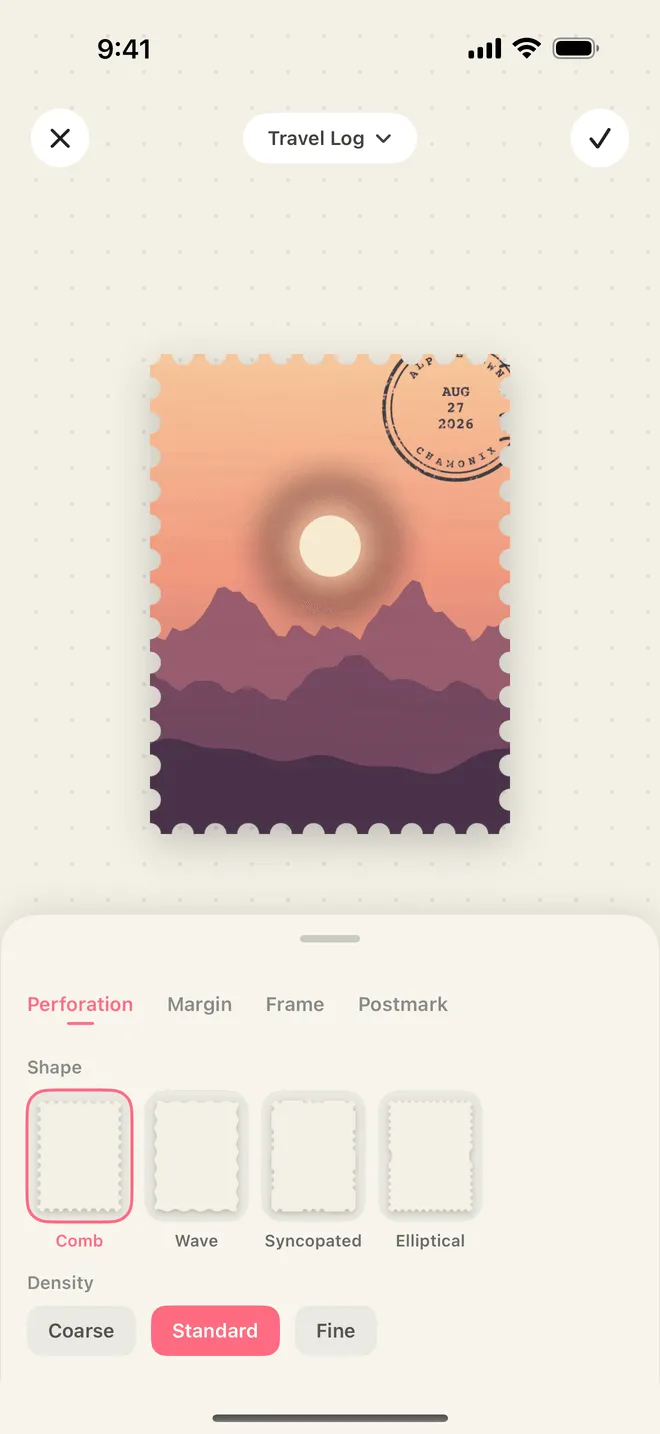
The editor opens with a row of tabs: perforation, margin, frame, postmark. The perforation is the edge — the toothed border that makes a rectangle read as a stamp — and it comes in four styles across three densities.
- Comb is the classic: even, regular teeth all the way around. If you are unsure, start here.
- Wave trades teeth for a rolling, scalloped edge. Softer and more decorative — good for pastel photographs, food, anything you would call pretty.
- Syncopated skips a hole at intervals, the way modern definitives do. The interruption gives the edge a rhythm and reads as contemporary.
- Security ellipse sets an oval hole among the round ones — a real anti-forgery device, borrowed here because it looks precise and official.
Density is how many teeth fit along an edge. Coarse teeth are bold and hold up when the stamp is small on screen; fine teeth look delicate and closer to a real definitive. Match density to the photo: a busy image is calmer with a coarse edge. There is a whole guide on choosing a perforation if you want to go deeper.
Step four: margins and frames
The margin is the strip of blank paper between your photograph and the perforated edge. Real stamps almost always have one, and adding it is the change that most reliably makes a cut photo look printed rather than cropped.
The frame is a border drawn around the image. Keep it thin: a heavy one steals space from a picture that has very little to spare. Both are optional, and a full-bleed stamp has its own modern look.
Step five: the postmark
The postmark carries the date and, if you like, the place. It is the detail that turns a nice image into a record of something that happened.
There are two styles: a classic mark, and one that carries a place name. Both can be dragged anywhere on the stamp and rotated to any angle, so you place ink the way a clerk would — across a corner, half on the perforation, a few degrees off straight. A postmark set perfectly level looks printed; a crooked one looks stamped.
The date starts from the photograph’s own timestamp, and both date and place can be adjusted in the editor or later from the stamp’s detail page. The place name needs either location permission or a few seconds of typing — and typing it lets you write “the old apartment” instead of a district name. For more, see postmarks for travel journals.
Step six: file it in a collection
The finished stamp lands in a collection — InStamp’s version of a stamp album. You start with one, and it holds everything until you decide otherwise. On the detail page, swipe left and right to leaf through your stamps like album pages.
Collections can be displayed as a list, a shelf, a wallet or a pouch, sorted by name, count or date or dragged into your own order, and each takes its own colour. Sorting by theme — one trip, one year, one city — is where the collecting habit starts; see organising stamps into collections when you are ready for a second book.
Step seven: share it
Sharing offers five styles, because a stamp gets sent to different places. Transparent exports the stamp alone on a clear background — the one to pick when it is going into a journalling app or a collage, anywhere you want to place it by hand with no white box around it. Ambient sets it on a soft backdrop for a finished-looking post. Collection shows it on its album page, the way it sits in the book. Magnet dresses it as a fridge magnet. Original hands back the photograph it came from.
All five export at high resolution, saved to your photo library or sent straight to a friend. Free shares carry a small watermark, which InStamp Pro lets you switch off.
What it costs, and what it keeps
InStamp is free for your first 10 stamps, with every editing tool and every share style unlocked — nothing in this guide is behind a paywall. InStamp Pro removes the limit: unlimited stamps and collections, exclusive dot-grid, ruled and squared page layouts, iCloud Sync, and the option to turn the watermark off. It comes as a yearly subscription with a 7-day free trial, or a one-time lifetime purchase.
InStamp runs on iPhone with iOS 18 or later, and everything happens on your device; we operate no servers. Location is optional and used for one thing only: printing a place name inside your postmark. If anything here behaves differently, support is a short email away.